


Working in older homes has given me an appreciation for the
moldings found around windows and doors, along floors, and many other places
where the home needs protection. After all, it’s important to remember that the
two main functions of trim are to hide things we don’t want to see, and to
protect walls. While working in homes built over the last 50 years I’ve seen
many sad examples of moldings that bring a home down. Well, not that many
really. Almost all newer homes have either “colonial” or “clamshell” trim. It
doesn’t have to be that way. Read on to find things to be mindful of when
selecting molding profiles for your home, and some tricks I’ve picked up for
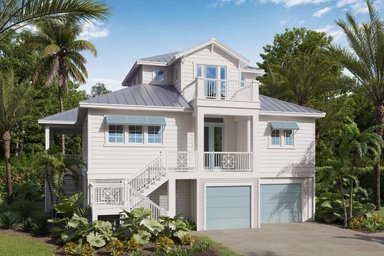
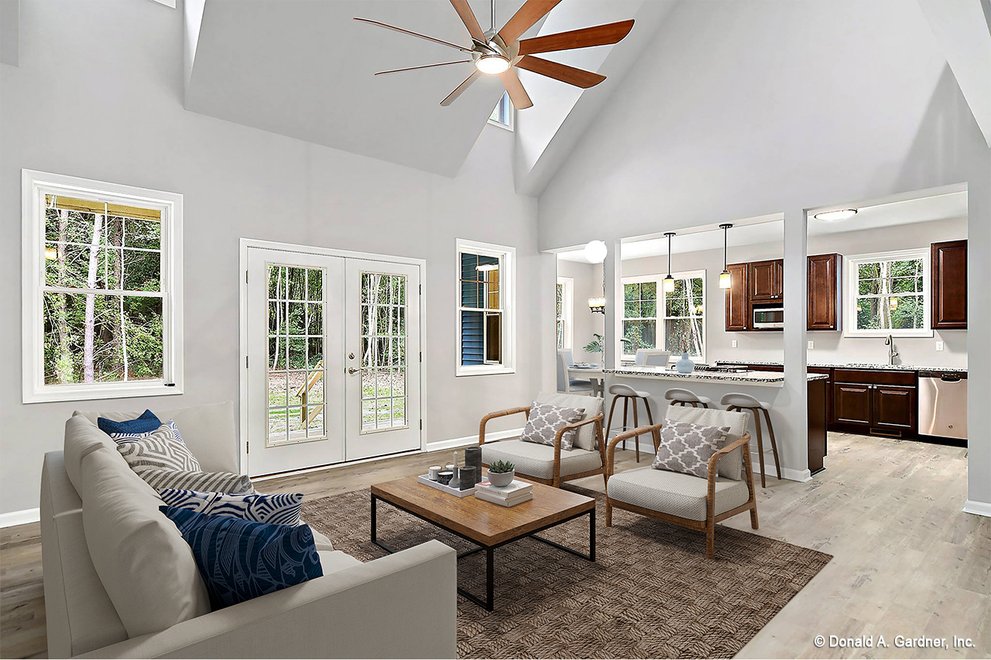
making your home stand out without breaking the bank. (The window photo at the top of this post is from Plan 530-2 by Classic Colonial Homes)
Listen to the house. If you are building an addition, or remodeling a house, look at the existing trim for inspiration. Consistency is important. If you are going to break away from the existing trim, look for a way to do so in a complementary style. If you are building the house from scratch, the moldings should fit the overall style of the house. Is it contemporary, traditional, rustic? Trim is something that ties the home together, you should be able to look at a section of baseboard and door trim and learn a lot about the house.
Pay attention to scale. If your home has 10’ ceilings, it shouldn’t have 3” high baseboards. If it has 8’ ceilings it shouldn’t have 7” baseboards. Since the casing you use around the windows and doors will be repeated throughout the house, look around at all the doors and windows when thinking about the width of this. Do you have doors or windows close to corners where only a 3 ½” wide piece will fit? If so, you’d be cutting down a larger molding profile and this is something you should try to avoid. In this case, the space you have at these spots sets the size for the rest of the house. Next, I’ll tell you about a way to use back band, to keep the theme consistent but vary trim widths that could help with this issue as well.
Vary the level of detail while keeping the style consistent. 100 years ago, it was common for homes to have more elaborate trim details in the more public spaces on the lower floors, with the level of detail and the size decreasing as you moved up the house. There are several easy ways to do this today and make your home stand out. In the dining room pictured here (design by MRB Interiors), we employed two of these techniques.
The first is to add a back band molding to your casing. Back band is a piece that goes around the perimeter of a cased door or window, and wraps around the outside corner of the casing to make the profile both wider, and deeper. The deeper your trim, the more shadow lines are created, which is what helps trim stand out when you look at a room. The same casing can be used without the back band elsewhere in the house for a narrower profile that keeps the underlying patterns repeating. The depth of the casing created by the back band also allowed us to employ another way to turn up the volume in one room: wainscoting. Where wainscoting meets casing you will want to make sure the casing sticks out in front of the wainscot panels. Shown are mdf panels, ordered online and made to order for the room. What traditionally would have been built, piece by piece onsite, came here shipped to the house in one piece for the small walls, and two pieces for the long wall. This simplifies installation, reduces cracks that develop from seasonal adjustments to the wood over time, and offers significant savings over traditional methods. Panels like this can be ordered from www.wainscotingamerica.com
Details To Set Your Home Apart
Bring back the window sill. Some people call the shelf-like, horizontal piece of trim on the inside lower edge of the window a stool, some call it a sill - but soon we won’t be calling it anything because they are disappearing. This is a shame, because a well-trimmed sill with an apron is a beautiful thing, and as walls are getting thicker for more insulation, this can be a functional place to put plants or display knick knacks. To get the sill right, start with the apron and the casing. The apron is the piece of trim that runs horizontally below the stool. Generally we use a piece of the window casing and return the two ends to the wall for a finished look. The sill should project out about ½” past the apron, and it should project out past the outside edge of the casing by about ½”. We call these the ears. A window finished with these details is a traditional look, but it can be employed with more modern trim profiles as well, and to my eye, is much more attractive than simply “picture framing” the window with casing on all four sides.
Everybody hates shoe molding, or quarter-round. It's installed along the bottom edge of the baseboard. This is the piece of trim that designers and homeowners ask me to omit more than any other. Like all trim though, it serves a functional purpose. Floors are rarely perfectly flat, and baseboard doesn’t flex to fit the contours of the floor, though shoe or quarter-round can. The baseboard can be scribed to fit this curves, but this is time-consuming, so most builders will install shoe to cover these gaps. It serves another purpose as well, keeping vacuum cleaners and chairs away from the baseboard, so the scuffs are limited to a small piece of trim. You’ll often see the shoe stained like the floor while the base is painted, to hide this wear and tear. But people don’t like shoe (a flatter version of quarter-round, and they hate the way quarter-round looks. If you are in this camp, here’s a simple trick that works in modern and traditional homes, does everything shoe does, and will set your home apart for no additional cost. Install lattice instead of shoe.
As shown in this picture (design by MRB Interiors), lattice (a thin square piece of molding available in different widths) can be installed along the lower edge of the baseboard instead. The profile is minimal, just enough to create some interest.
Just bead it. The most versatile trim profile from the past that is rarely used these days is the bead board. A simple flat board with a round bead cut into one side can be scaled up to use as baseboard or scaled down for casing. You can dress it up with back band (see part one) in the fancier rooms and use it plain in other rooms. It has been used historically in farmhouses and fine Victorian homes but it also works great in a modern home where you want to add a subtle detail. You won’t find every piece I’ve mentioned in these articles at a big box hardware store, but your local lumber yard should carry them. Everywhere you look in your house you’re going to be staring at trim, so it is worth the effort to make it beautiful.
Kenny Grono is a contractor based in the Philadelphia, PA area.